


When CapCut suddenly reveals a black screen while you're using it on your PC, the first thing you think is that your project has just come to an end. It appears as if the app has stopped responding. However, the CapCut black screen error is typically due to a minor issue that can occur when the cache becomes corrupted, you are experiencing a GPU conflict, or you are using outdated software. In this article, we will discuss some of the most common causes of the black screen in CapCut and provide suggestions on how to fix them. If this issue is not related to the app but is causing your video files to display black when you try to play them, we will also discuss a tool that can help repair damaged video files. By the end of this article, you should be able to troubleshoot this error and get back to editing without worry.
Part 1. Reasons That Cause The CapCut Black Screen
If you’ve ever opened your project only to be met with a black screen CapCut problem, you might be wondering what’s really going on. While it appears to be a major error, most of the time it originates from smaller issues within the app or your computer. Topics such as outdated graphics settings, outdated software, or even the video file itself can cause the black screen video to appear. Before jumping into solutions, let’s take a closer look at the most common reasons behind this frustrating glitch.
1.GPU Rendering Conflicts – Sometimes, CapCut struggles when your computer’s graphics card is handling the rendering. It can result in a blank preview screen instead of your video.
2.Corrupted Cache Files – If the app has stored too many temporary or corrupted files, it can interfere with smooth playback, causing the black screen.
3.Outdated CapCut Version – Running an older version of CapCut may cause compatibility issues, bugs, or glitches that result in a black screen.
4.Video File Issues – If the video file itself is corrupted or unsupported, CapCut may not be able to display it properly.
5.System Performance Problems – Low memory or CPU usage spikes on your PC can also cause CapCut to lag or show nothing in the preview.
Knowing these possible causes is the first step to fixing the error. In the next section, we’ll cover practical solutions to resolve the black screen issue and get your editing back on track.
Part 2. How to Fix CapCut Black Screen on PC
Now that you are aware of the possible causes, let's discuss some quick, easy, but effective solutions to resolve the CapCut black screen problem. These solutions can include adjusting the GPU settings, clearing cache files, and updating the app, among others. Each solution may work well, so go through them step by step, and you will find out what works well for your PC.
Fix 1. Disable Render Interface with GPU
One of the most common reasons for the CapCut black screen issue is a conflict with your computer’s graphics card. While GPU rendering is designed to enhance performance, it sometimes creates compatibility issues in CapCut, resulting in the preview window becoming blank. Turning off the render interface with the GPU often solves this and brings your video back on screen.
Step 1. Launch CapCut on your PC. Go to the Settings.
Step 2. Look for the option related to Render Interface with GPU. Uncheck or disable this option.
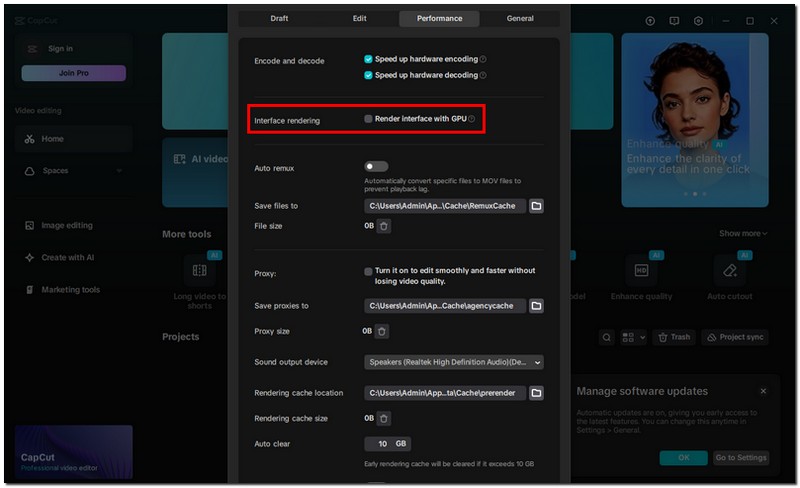
Step 3. Save the changes and restart CapCut.Reopen your project and check if the video preview displays correctly.
This quick tweak reduces the chances of GPU conflicts and is often the fastest way to resolve the black screen problem.
Fix 2. Clear CapCut Cache
Another reason you might face the black screen CapCut issue is due to corrupted or overloaded cache files. CapCut stores temporary data to make editing smoother, but when these files accumulate or become corrupted, they can interfere with video playback. Clearing the cache can refresh the app and often solves the black screen problem.
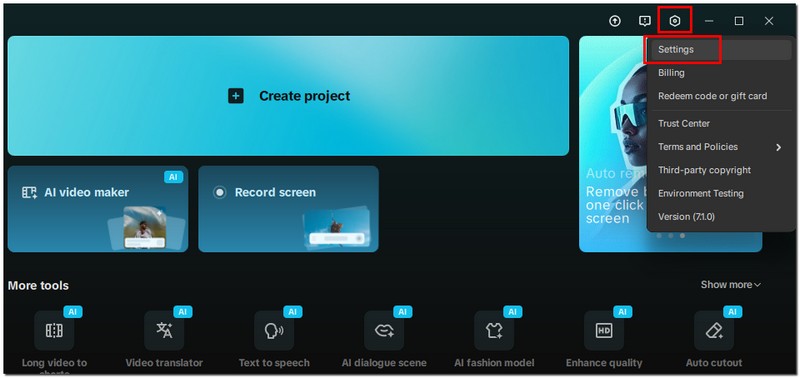
Step 1. Open CapCut again and click on the Settings (gear icon).
Step 2. Find the option for Clear Cache. Confirm the action and let CapCut delete the temporary files.
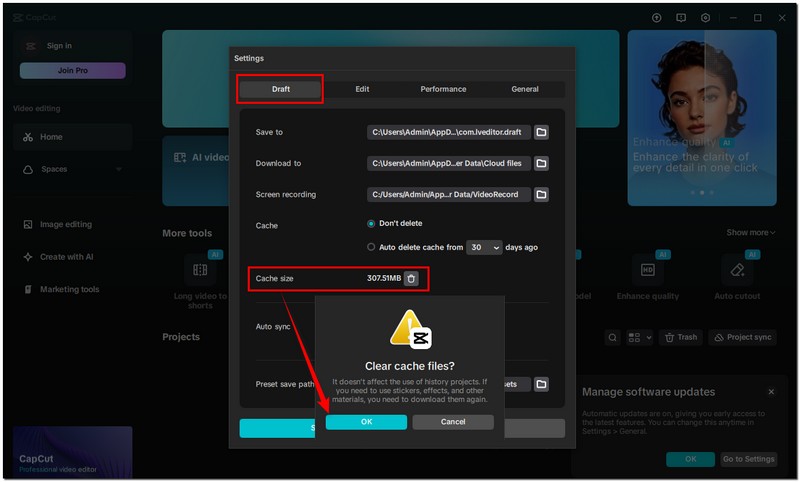
Step 3. Restart the app and try opening your project again.
By removing unnecessary data, you give CapCut a clean slate to run more smoothly, which may instantly resolve the black screen issue.
Fix 3. Update or Reinstall CapCut
If you are still experiencing issues with the CapCut black screen after trying other solutions, it is possible that your app is out of date or that you have corrupted program installation files. When you update CapCut, you will receive the proper updates and fixes for bugs and improvements that enhance performance. If updating CapCut does not resolve the problem, you should uninstall the app and reinstall it as a fresh option.
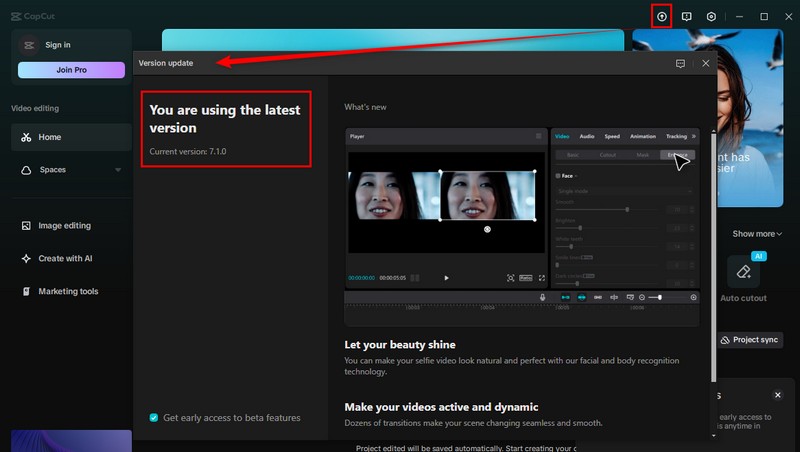
Step 1. First, check if an update is available for CapCut on your PC via the Microsoft Store or the official CapCut website.
Step 2. If an update is available, install it and restart the app.
Note: If updating doesn’t work, uninstall CapCut from your computer. Go to the Control Panel, find the Programs section, and click Uninstall a program. Select CapCut and uninstall it.
Step 3. Step 3. Then open your project again to see if the issue is resolved.
This method helps eliminate any bugs or corrupted files that could be behind the black screen problem.
Part 3. Extension: How to Fix an Unplayable CapCut Video File
Sometimes, after editing, your exported CapCut video may not play properly. It could appear corrupted, laggy, or refuse to open at all. It usually occurs when the rendering process is interrupted or the file becomes damaged. Instead of re-editing everything from scratch, you can repair the corrupted video file using VideoSolo Video Repair, a professional tool designed for restoring damaged videos with high success rates.
Main Features
• Quickly repairs videos that won’t open, freeze, or stutter after editing.
• Works with MP4, MOV, AVI, and other common video file types.
• Repairs videos without quality loss, preserving resolution and audio.
• Beginner-friendly with just a few clicks to get your video back.
• Saves time by allowing you to repair multiple files simultaneously.
Detailed Steps to Repair an Unplayable CapCut Video File
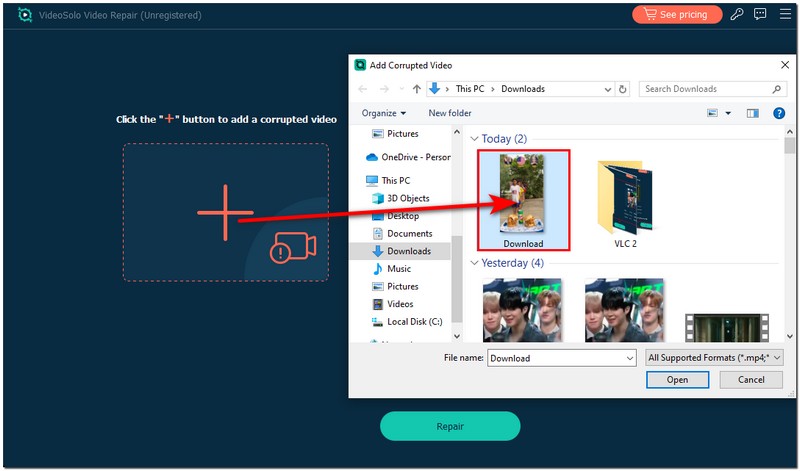
Step 1. Install the VideoSolo Video Repair tool on your personal desktop. Open the program and click the + button to import the corrupted CapCut video file.
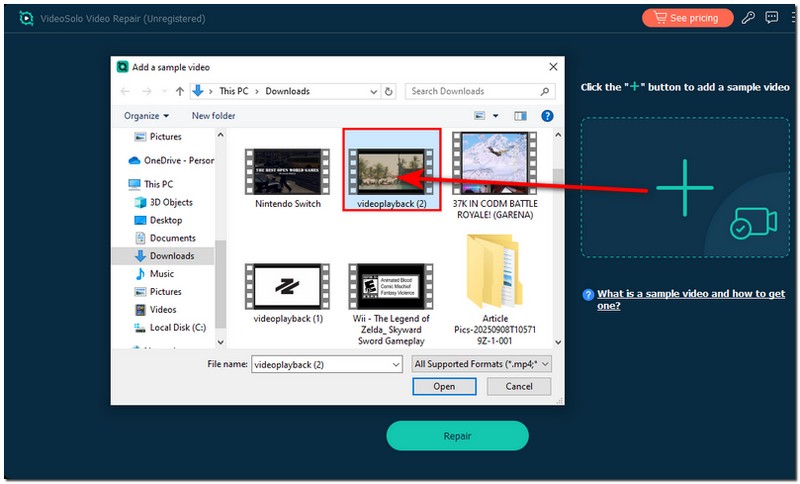
Step 2. If needed, add a sample video or a working video recorded with the same device to help improve repair accuracy.
Step 3. Click Repair to initiate the repair process.
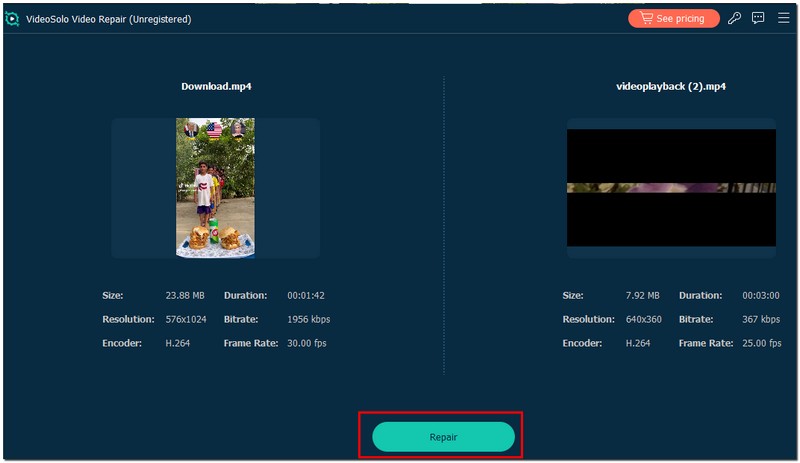
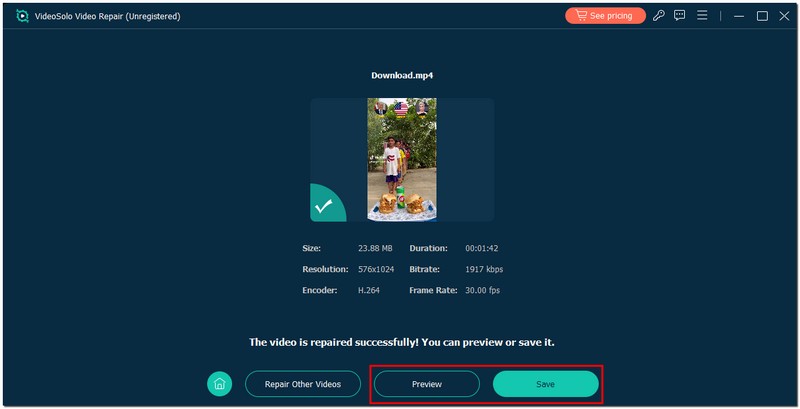
Step 4. Once the repair is complete, preview the video to check if it’s working properly. Finally, save the repaired video file to your computer.
With these steps, you can easily restore a corrupted, unplayable, or buffering video without having to redo all your edits. If your restored video is choppy
Conclusion
Experiencing a black screen CapCut problem on your computer can undoubtedly affect your workflow. However, it is not worth worrying too much about. Most of the time, it is due to simple issues, such as wrong rendering settings on your GPU, the accumulation or clogging of cache, or problems with outdated software. As we outlined, disabling the GPU rendering, clearing the cache, or uninstalling & reinstalling CapCut should resolve the issue quickly. Then, even if a video you exported comes up unplayable, there are save-the-day tools like VideoSolo Video Repair that can salvage your work without the fear of losing too much effort. With some hard work, simple troubleshooting should lead to a fairly seamless editing process, ideally with more time to focus on creating great videos, rather than worrying about technical glitches.
More Reading

Repair your damaged, unplayable videos with multiple mainstream formats like MP4, MOV, 3GP, etc.

