GIFs can be seen wherever Facebook, WhatsApp, iMessage, email, Twitter, and other social media platforms. But how do you want to make an impressive GIF out of your favourite YouTube video? That's the question that brought you here.
Therefore, I have collected and tested some tools that claim they can help users create a GIF from a YouTube video. Read the guide below to learn how to make a GIF from a YouTube video with detailed reviews. Without a further do, let's read on!
How to Create a GIF from a YouTube Video with VideoSolo
VideoSolo Video Converter Ultimate ranks No.1 among all of my tests. To be specific, it is surprising how good of a GIF maker VideoSolo is despite it being free to download. Thanks to its cutting-edge Blu-Hyper technology, its converting speed up to 50X faster than ever, and the quality of GIF is phenomenal while maintaining a smaller file size. Believe it or not, it only took me 3s to output a 00:03:27 long GIF clip with high quality.
✔ Provide the preview feature to check if the GIF quality meets your need
✔ Have an outstanding balance in GIF size and GIF quality after converting
✔ Conversion speed up to 50X faster than ever when making GIFs
✔ Customize Your GIF by adding or removing a watermark
✔ More than 50 stunning filters to embellish the video
✔ Can add picture overlay or text to elaborate your GIF
If you want to make a GIF from a YouTube Video without hassle, you can give VideoSolo Video Converter Ultimate a try. To learn how to create a GIF with this competent tool, read the instructions below.
Step 1. Download and install VideoSolo on your Windows or Mac computer
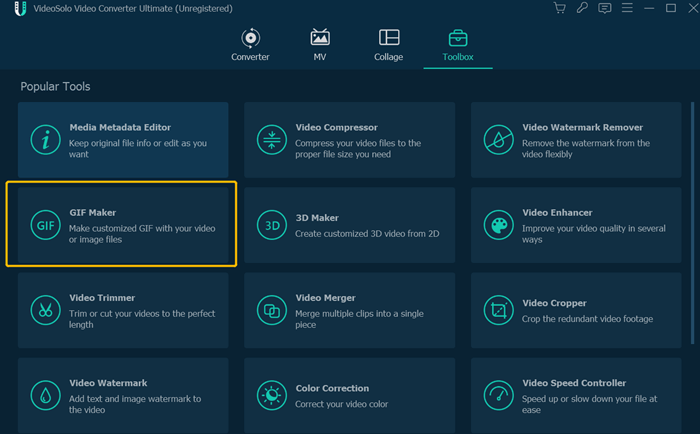
Install and run the converter on Windows or Mac. Then open the main interface of “Toolbox” and navigate to the “GIF Maker”.
Step 2. Convert YouTube videos out and store them on your local drive
There are two options for you to convert YouTube videos out easily. You can select one freely based on your needs.
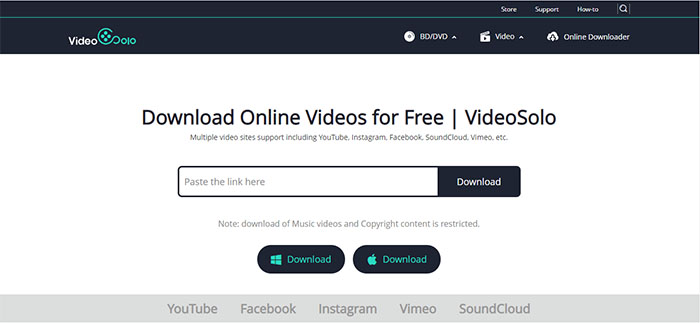
Option 1. Navigate to the website of VideoSolo Online Video Downloader to detach your YouTube video without any hassle. All you need to do is copy the YouTube video URL from the address bar and click the converting button. Thanks to its clear and clean interface, even newbies can use it without obstacles.
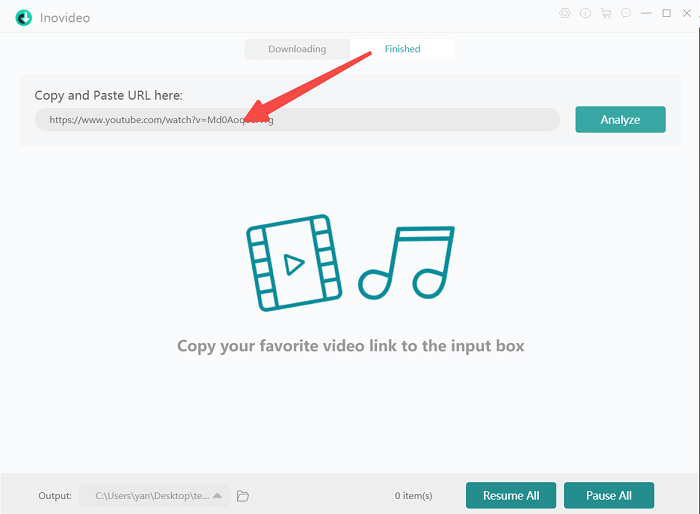
Option 2. Another alternative is to download a professional video downloader. Here I recommend you try Inovideo out, a reliable video downloader can help you download online videos from different websites with incredible quality. You just need to copy and paste the YouTube video URL to the frame bar and click the “Download” button. Your YouTube Videos will be fetched out as soon as possible.
Step 3. Import the YouTube video that you want to convert as GIF
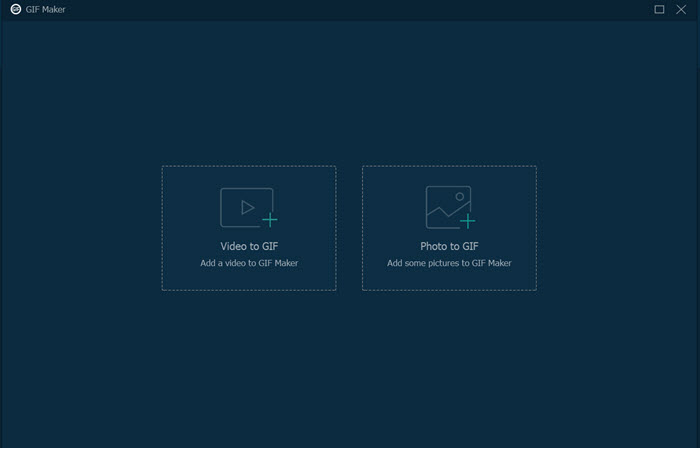
Once your YouTube video has been stored on your local drive, please click the “Video to GIF” button to begin uploading the YouTube file.
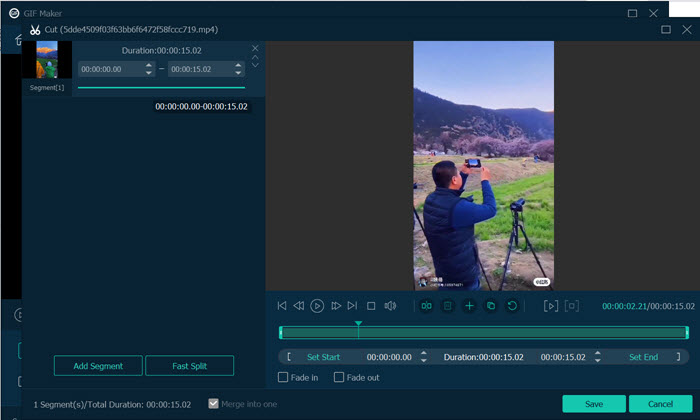
Step 4. Further edit the file with the built-in tools
To edit your video, please press the “Cut” button in the bottom left of the taskbar. Over there, you are allowed to set the start/end time output size and frame rate.
As I had recommended above, VideoSolo spares no effort to help you render your video more stunning and attractive.
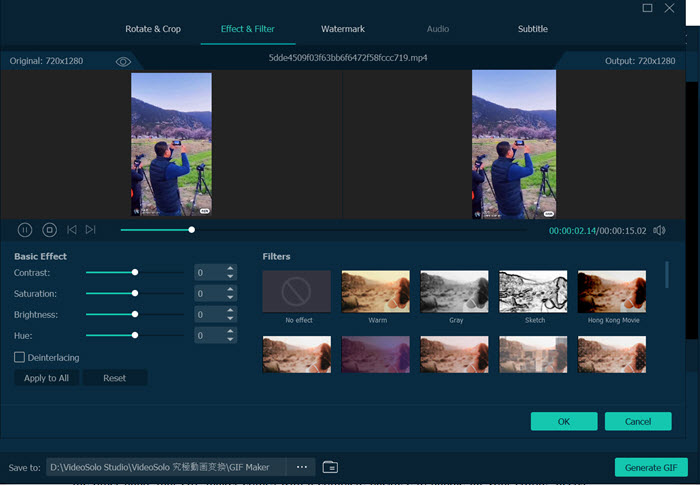
You can rotate your GIF clip as “Left Rotate”, “Right Rotate”, “Horizontal clip”, or “Vertical Clip”. The crop area position can also be set precisely by entering the value.
Furthermore, in the “Effect & Filter” feature, you can change the contrast, saturation, brightness, and hue of the video while more than 50 filters are provided for you to embellish the video.
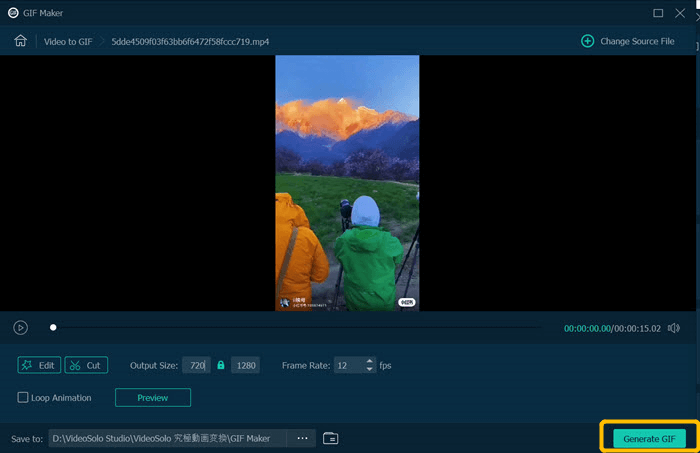
Step 5. Review and Export the GIF File in VideoSolo
Click the “Preview” option and check the GIF whether you're satisfied. If everything is excellent, congratulations! There is one step away from getting your awesome GIF by taping the option of “Generate GIF”.
How to Make a GIF from a YouTube Video with VideoProc
VideoProc is a complete & quality-oriented video software starting with its customization. For example, it can freely turn video resolution into the one you desire without a problem. It can upscale video in low-resolution, such as 720p to 1080p or 4K, and downscale 1080p to 720p based on your needs.
Utilizing GPU hardware acceleration powered by Intel, AMD, and NVIDIA, VideoProc acclaim that they can speed up the video transcoding progress without quality loss. However, when making the GIF in our test, VideoProc took up 100% of my CPU resource and froze my computer for nearly 3 minutes during the conversion. What's worse, it stopped the transcode in seconds and left us with a blank file. If you can live with that high-CPU occupation, it is still an ideal YouTube GIF maker for you to create an incredible GIF clip. Read the guide below to learn how to turn a YouTube video into a GIF with VideoProc
Step 1. Download VideoProc Converter on your computer and prepare your YouTube Video in advance. In order to fetch the YouTube video sources to your local file, please paste the URL to the website of VideoSolo Online Video Downloader and tap the option of “Download”.
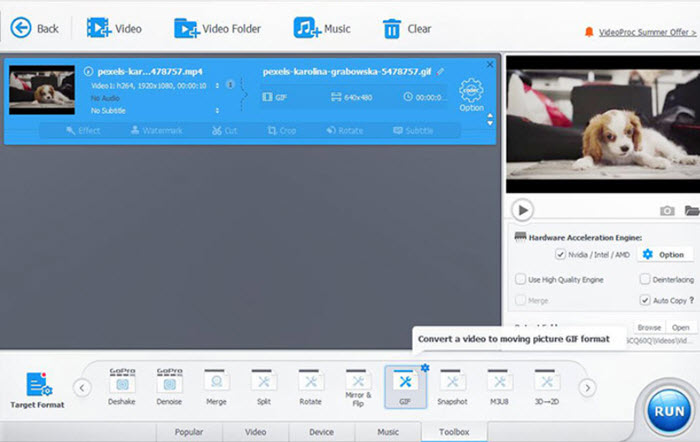
Step 2. Tap the option of “Video” to import the source video that you downloaded in step 1.
Step 3. Click on the “Toolbox” button and double-click the “GIF” button. After that, please click the gear wheel icon on the right and set your GIF clip's duration, loop time, and image size.
Step 4. Once you are satisfied with all settings, please click “Done “and then click “RUN” to get the GIF image.
Pros:
✔ Flexible GIF settings: loop time, image size, duration, and frame delay.
✔ Edit before converting videos to GIF: cut, rotate, crop, add text
Cons:
❌ Unavailable to add watermark
❌ High CPU occupation
❌ Image to GIF is not supported
How to Make a GIF Out of a YouTube Video Using Instagiffer
Instagiffer is a free animated GIF maker that you can create a wide range of YouTube GIFs without hassle. What's great about Instagiffer is that you can create your GIF via screen capture. It means you won't miss every impressive moment you want to catch up. But I found that every time I changed the parameters in the settings, such as smoothness, frame size and quality, I had to wait for the software to update the settings and preview area in real-time, which took me so much time. if you are still interested in how to make a GIF out of a YouTube video using Instagiffer, please read on!
Step 1. Open Instagiffer on your computer. Through the program's main interface, the Step 1 part will provide you 3 options to fetch the YouTube source video. You can load the local video from your computer, capture the screen or paste YouTube URL to the search box.
Step 2. After importing the source video, we move the slider to select the start time and enter the specific length below. As for “Smoothness”,” Frame Size”, and “Quality,” you can directly drag the slider to customize them. Please note that the smoothness, frame size, and quality are in direct proportion to the image size.
Step 3. After completing the custom items, then click the “Create GIF” button to initiate the process of creating.
Step 4. When the animation process ends, Instagiffer will display the preview frame of the animation. Since there is no hardware acceleration, you may need to be patient for a while.

Pros:
✔ Capture Screen option is provided
✔ User-friendly
✔ Many options for customizing: start time, frame size, quality in one box
Cons:
❌ Some of time-consuming with no hardware acceleration
❌ You need to download it on a third-party website
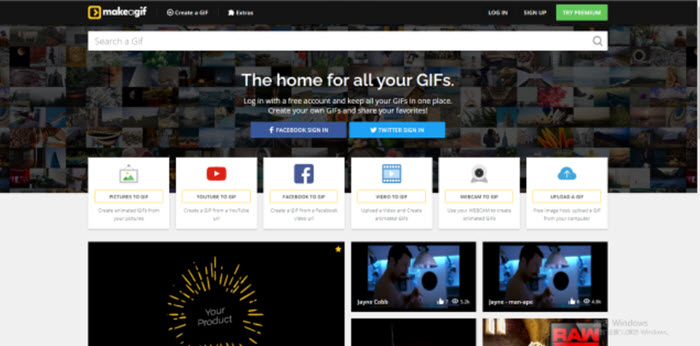
How to Turn a YouTube Video into a GIF with Make A GIF
If you would like to go with an online GIF creator, Make A GIF might be your way to go. In Make a GIF, you can turn a YouTube Video into a GIF without downloading extra software. Keep in mind that low and medium quality exports are free of charge, but you'll need a premium account to remove the Make a GIF watermark and enjoy some special features like high or HD definition GIFs.
Step 1. Go to YouTube on your desktop and open the video in which you want to create a GIF. Then, hit the “share” button and click on “copy”.
Step 2. On Make a GIF, click on “YouTube to GIF” and then paste your YouTube link into the URL bar.
Step 3. You can customize the GIF by adding captions and stickers and adjusting other configuration settings if you'd like to, and once you've defined all parameters, please hit “Continue to Publish”.
Step 4. Once you are satisfied with all settings, then simply click on “Create your GIF” and download the newly crafted GIF.
Pros:
✔ Simple to use
✔ No need to download a software
Cons:
❌ Allow converting only 10 seconds GIF in a trial version
❌ A small watermark is placed on all GIFs
❌ Loading big size videos will be time-consuming
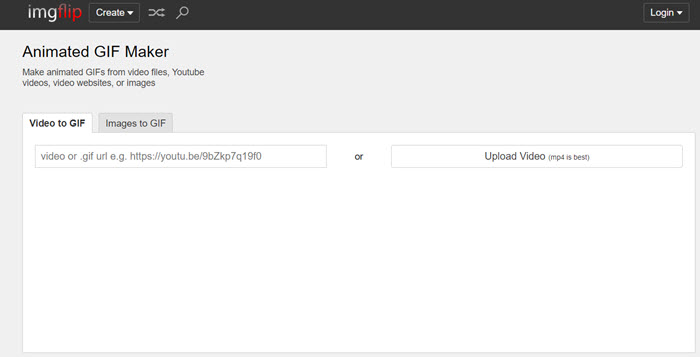
How to Convert a YouTube Video to a GIF via Imgfilp
Imgfilp is another straightforward gif maker, similar to A GIF Maker. You can make a GIF from images, a video URL or a video you upload yourself. Although it is an online tool, it equips with an in-build tool for you to set the animation delay, photo order, width, height, and quality. Note that your finished GIF will have a small imgflip watermark on it unless you have a pro account. Read the instructions below to learn how to convert a YouTube video to a GIF via IMGFLIP.
Step 1. To make a GIF from a video file on your device or a video URL, please click the button of “Video to GIF”, then click” Upload Video” to choose files from your device; otherwise, paste a URL of your YouTube video.
Step 2. If you would like to customize your GIF, you can then crop your GIF or add text, images, stickers, drawings/scribbles, and animations.
Step 3. Click “Generate GIF” and then choose how to save or share your GIF. You can now download the GIF to your device or share it on social media.
Pros:
✔ Flexible GIF settings: animation-delay, width, height, and quality
✔ Allows you to add text to GIFs.
Cons:
❌ Watermark attachment in a trial version
❌ Free users are limited to storing GIFs less than 4 MB
Conclusion
All methods introduced above can genuinely help you create a GIF from a YouTube video. From my perspective, I will vote for VideoSolo Video Converter Ultimate owing to its outstanding performance in its smaller GIF size and higher GIF quality. Free download and try it out! Investing your time and money in this is undoubtedly a one-time investment and will give better returns. Let your awesome GIF becomes a hilarious form to convey a message in a funny way!

