


We cannot deny that there are more occasions when we need to record videos, like recording video tutorials for teaching, saving presentations for work, or capturing exciting gameplay footage for entertainment. As a Mac computer user, especially a newbie, you may still wonder how to record videos on Mac.
Actually, the MacOS system possesses three built-in programs with the feature of recording videos with webcam, including QuickTime Player, Photo Booth, and iMovie. They are effective applications for shooting a video, though limited to recording features. So alternatively, you can also resort to a more professional tool, VideoSolo Screen Recorder, to enjoy high-quality output and more smart features.
Now let's check these four ways in detail.
Record Video on Mac with QuickTime Player
QuickTime Player is a media player designed by Apple for playing and streaming a range of digital media formats. Actually, besides a player, this tool can also serve as a screen recorder to capture screen activities on your Mac computers.
With the help of QuickTime Player, you can record the entire screen or a selected recording area. Webcams and audio from different sources can be captured. After recording, you can do some simple editing, such as splitting, trimming, and rotating the recording. Here are some easy steps you can follow.
Step 1. Launch the QuickTime Player with shortcut keys or search for it in Finder.
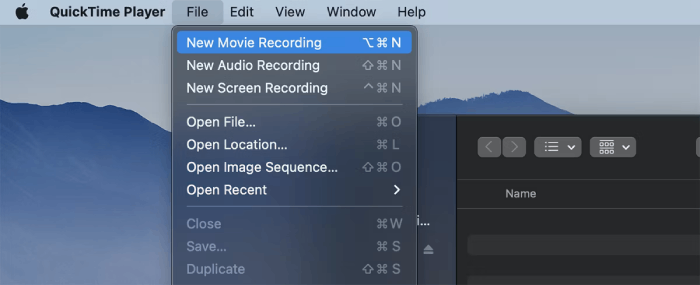
Step 2. Once the application is open, click on the File button to select the desired recording mode.
- If you want to record your screen, just hit New Screen Recording.
- If you just want to record yourself, please select New Movie Recording mode.
- For recording your screen and the webcam at the same time on Mac, choose New Movie Recording first, and then select View > Float on Top on the top menu to make sure your webcam is captured. Then, open New Screen Recording, and your Mac screen as well as your face will be recorded simultaneously.
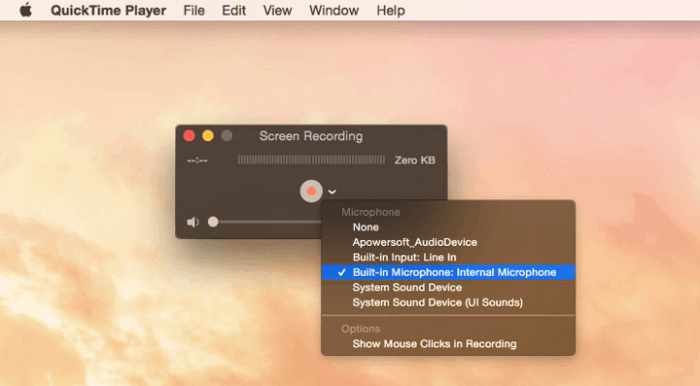
Step 3. Click the Down Arrow to customize your settings. You can choose the audio source and enable recording mouse movements.
Step 4. Tap the Red button to start recording a video on your Mac. When you're ready to finish it, just click the Stop button and save the video file.
Record Video on Mac with Photo Booth
Photo Booth is also a pre-installed application on Mac computers, which is handy for capturing interesting selfies and photos to share with friends. Better still, it can also record videos from your webcam.
This tool offers you a fast and interesting way to record videos. You can apply multiple effects to make your videos vivid, such as Space Alien, Nose Twirl and Chipmunk. Unlike QuickTime Player, it will not flip your recording video horizontally. However, Photo Booth doesn't enable you to record your computer screen and audio from system sound. Also, customizable options are very limited. If you just need a simple video with effects, you can try it by following this step-to-step guide.
Step 1. Launch the Photo Booth with shortcut keys or search for it in Finder.
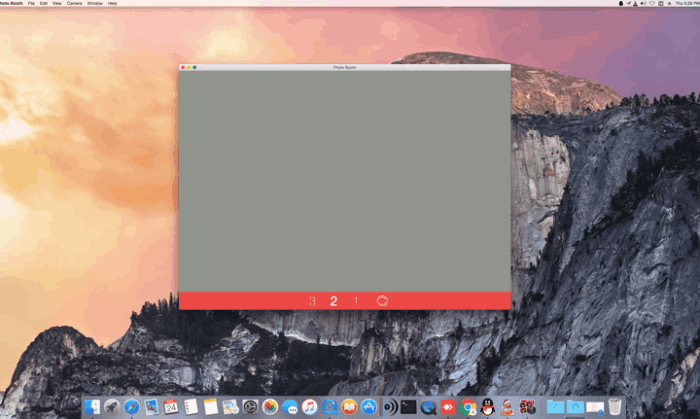
Step 2. Press the third camera film icon at the bottom left to enable the video mode. You can also click on Effects at the bottom right to choose a desired effect.
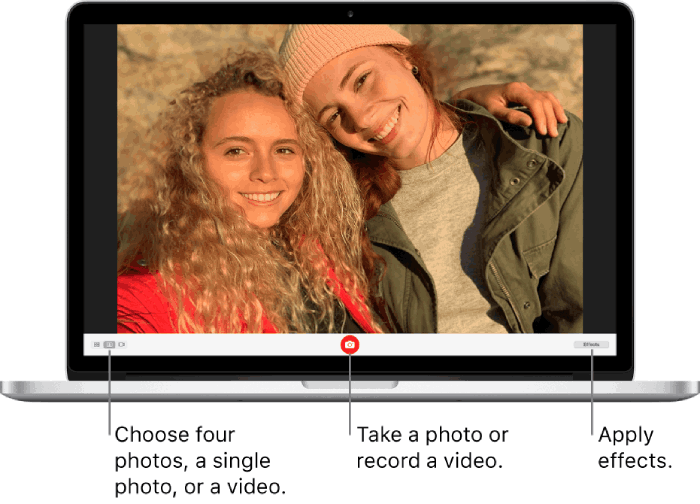
Step 3. Tap the red recording button to start the video. When you want to finish it, you can stop recording by pressing the red stop button.
Step 4. Once you stop the recording, tap the video thumbnail in the fimstrip to check your video. You can right click it and choose Export to save it to your Mac computer.
Record Video on Mac with iMovie
The third method is iMovie. It is not a pre-installed program on Mac computers, but it can be free downloaded from your App Store. iMovie can record videos directly from your webcam and it boasts various editing tools for you to polish videos after recording. Plus, if you want to import your videos to a larger project, iMovie can better deal with it. Now, let's check how to record video on Mac with iMovie.
Step 1. Launch the iMovie with shortcut keys or search for it in Finder.
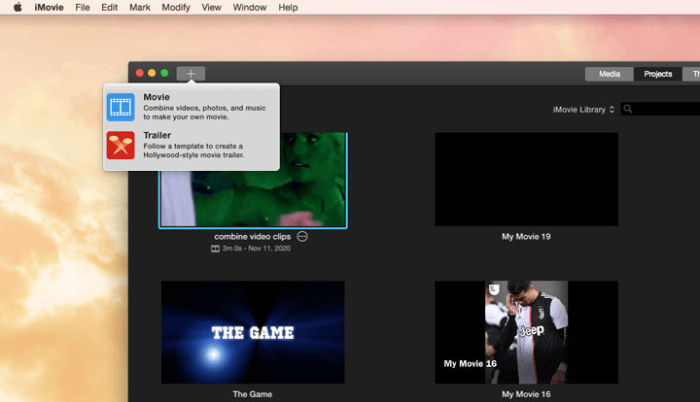
Step 2. After opening the software, tap Project and press the + icon to select Movie. This way, you can create and name a new project.
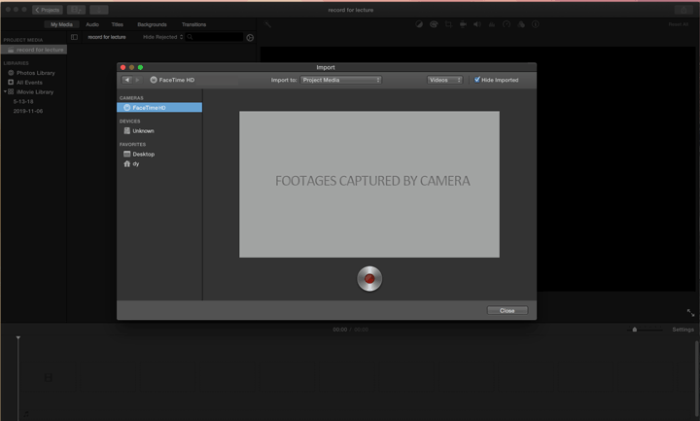
Step 3. Click on Import Media to select FaceTime HD camera on the left panel. Or, you can select other external cameras to record your own face. Then, remember to go to the Import to section at the top and choose where to save the recording.
Step 4. When everything is ready, press the red dot icon to start recording. You can also stop the recording by tapping it again.
Record Video on Mac with VideoSolo Screen Recorder
The above three methods using applications on Mac computers are convenient. They can cater to basic needs, such as recording simple videos with the webcam on. But if you want to record more types of videos and enjoy more customizable features like customizing output settings, adding annotations, editing recordings, etc., you definitely need the help of a third-party application.
VideoSolo Screen Recorder is a multifunctional and efficient screen recorder boasting professional recording modes for providing you with optimal recording experiences. It allows you to record screens, audio from different sources, and webcam simultaneously under any scenarios ranging from phone calls to gameplay. Moreover, customized output formats and high quality without latency are also guaranteed.
With an easy-to-use interface, you can achieve your recording without hassle. After downloading and installing VideoSolo Screen Recorder on your MacBook Air, MacBook Pro, iMac, and Mac mini, you can refer to the following steps to record your Mac with audio easily.
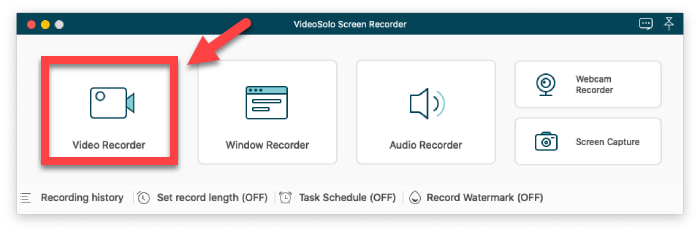
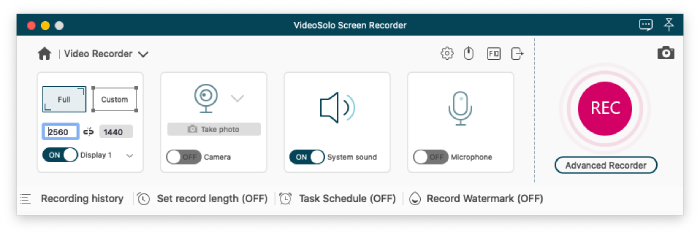
Step 1. Launch the Software, Choose Video Recorder
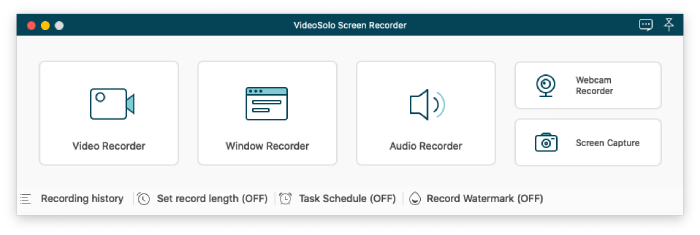
Launch the VideoSolo Screen Recorder and click on the Video Recorder mode.
Step 2. Customize Recording Area, Webcam and Audio Settings
By clicking Custom, you can select the recording region. From the Window option, you can enable the Lock and record feature. If you want to record your face, just open the webcam. Then, sounds from the system or microphone are set enabled by default (even the internal audio on Mac can be recorded easily). The volume can be adjusted via the slide bar.
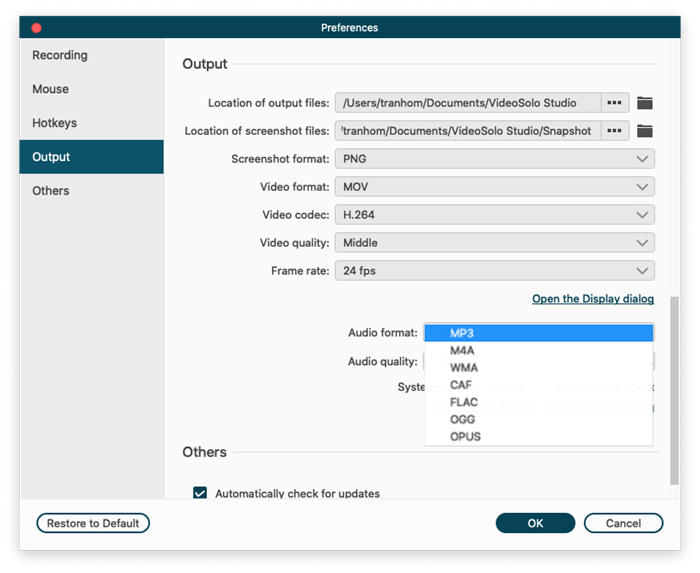
Step 3. Adjust More Output Settings
Now, you can turn to the Output Setting. On the Output tab, you are allowed to select the destination folder, and adjust screenshot, video and audio formats.
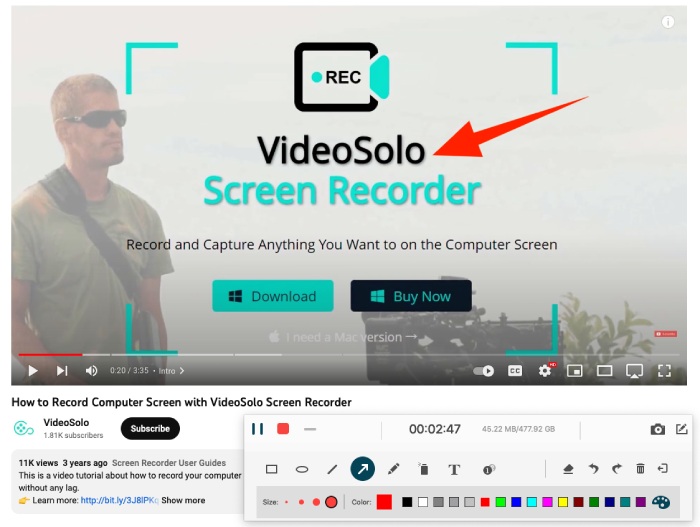
Step 4. Start, Stop and Preview Recording
Once the settings are down, just tap the REC icon to start recording. Through the floating panel, you can add real-time annotations or take snapshots during the recording. If you want to stop, click the red rectangle icon. Then, you can preview and edit your recording with a toolbox.
Conclusion
When it comes to recording videos on a Mac computer, we introduced three native applications, QuickTime Player, Photo Booth, and iMovie. They are all suitable for achieving quick and easy recording. They display different features. For example, QuickTime Player can record both the screen and webcam. Photo Booth is great for adding effects or filters to recordings. iMovie does well in editing and dealing with large projects.
However, these three tools provide little professional options to adjust recording modes, outputs, quality and subsequent preservation. If you are hunting for a dedicated video recorder on Mac, VideoSolo Screen Recorder can be a superior option. As mentioned above, it boasts multiple functions and is easy to grasp following a detailed guide. So, just have a try!

