FLAC is Free Lossless Audio Codec and its meaning that no sound quality is lost during the compression. So its sound quality is perfect but one problem is that the compatibility is not good. When you want to play the FLAC on iTunes, iPhone, iPod, etc., you have to convert FLAC audio to M4A first. Because FLAC audio format isn't supported by these Apple devices.
Don't worry, next we will show you how to convert FLAC audio to M4A with a FAST and EASY way.
We all know that it requires a video converter to finish the conversion. If you want to find a reliable and efficient utility to convert your FLAC audios to M4A, then VideoSolo Video Converter Ultimate can be a good choice. It comes with a clean and elegant interface and can help user to convert audio from FLAC to M4A, MP3, M4R, WAV, etc. You can convert as many files as you want at once since it has a powerful batch conversion feature.
The whole FLAC to M4A conversion will be quite easy if you use VideoSolo Video Converter Ultimate. See how it works now.
Step-by-step Guide to Convert FLAC to M4A in a Breeze
Step 1. Install and Launch the VideoSolo Video Converter Ultimate
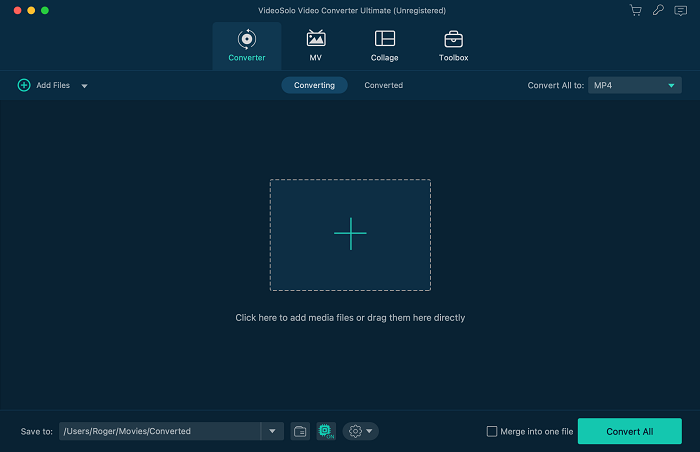
Run the downloaded file to start the installation, just follow the instructions which are fast and easy. After installation, double-click the new icon on your computer, you will see the main user interface below.
Step 2. Import FLAC Source File
Now click “Add File(s)” button to locate your FLAC files you want to convert into M4A. Or click on the local folder containing FLAC songs, then simply drag and drop the files to the middle processing area of this converter.
Step 3. Set M4A as Target Format
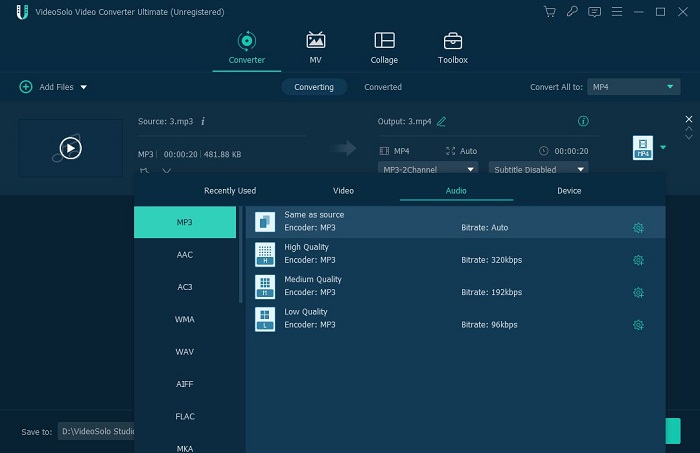
Go down to the bottom of the interface and click “Output Format” drop-down menu, then choose “M4A-MPEG-4 Audio (*.m4a)” among the plenty of given formats from the “General Audio” category.
Step 4. Change Audio Settings (Optional)
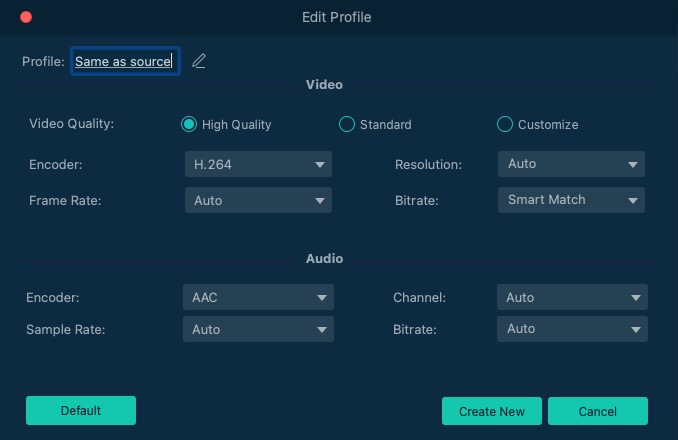
If you are serious about your audio quality, you can click the “Settings” button to change audio settings including sample rate, channels, and audio bitrate. When you finish, click “OK” icon to back to the main interface. However, if you're puzzled a lot, you can skip this part.
Step 5. Start Converting FLAC to M4A Format
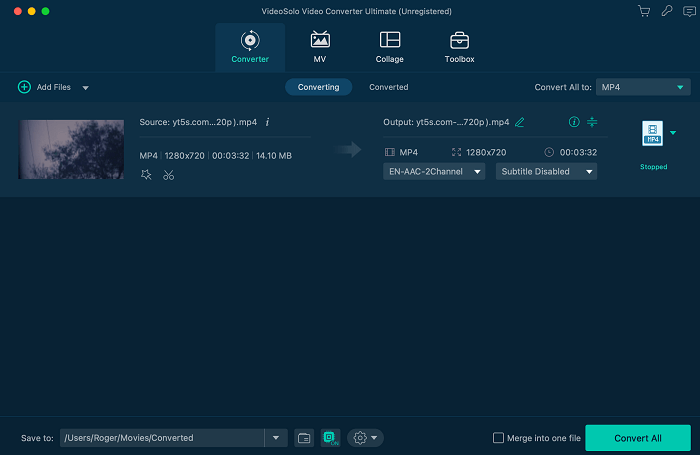
When you have ensured all the output settings are correct, you can now start to convert FLAC to M4A Format by clicking “Convert” button. Depending on the number of audio files you're converting and the specifications of your computer, this process could take some time. Be patient.
After it is done, you've had your FLAC tracks converted in M4A format flawlessly. You can then open the file from the saved location. Now you can organize your newly created M4A music on iTunes library freely and transfer them to your portable Apple products for listening. Enjoy!

