Minecraft is a giant sandbox where you can unleash your creativity to the fullest. During the gameplay, there must be some wonderful moments when you want to record Minecraft videos for reviewing, sharing, or uploading to streaming platforms like YouTube.
So, you may need a Minecraft recorder. Among the numerous recording software, we have chosen the best 10 Minecraft screen recorders for you, and you will get a complete guide on how to record Minecraft World on PC and Mac without lag.
Table Comparison of 10 Best Minecraft Screen Recorders
Before getting to know the 10 best Minecraft screen recorders fully, let's have a quick overview of their features and performance.
| Products | Clear Interface | Area Selection | Quality | Webcam | Editing Tool | Overall Score |
|---|---|---|---|---|---|---|
| VideoSolo | ✔ | ✔ | Lossless | ✔ | ✔ | 4.9 |
| Bandicam | ✔ | ✔ | High | ✔ | ✔ | 4.7 |
| Fraps | ✔ | ❌ | High | ❌ | ❌ | 4.5 |
| Icecream | ✔ | ✔ | High | ✔ | ✔ | 4.7 |
| EaseUS | ✔ | ✔ | Lossless | ✔ | ✔ | 4.6 |
| Wondershare | ✔ | ✔ | High | ✔ | ✔ | 4.6 |
| Actions | ✔ | ✔ | Middle | ✔ | ✔ | 4.4 |
| OBS | ❌ | ✔ | High | ✔ | ✔ | 4.5 |
| Quicktime | ✔ | ✔ | High | ✔ | ✔ | 4.6 |
| Game Bar | ✔ | ❌ | Middle | ❌ | ❌ | 4.4 |
1. VideoSolo Screen Recorder
VideoSolo Screen Recorder is a no-lag Minecraft recorder that can record Minecraft video and audio in 4K 60fps with no watermark. It supports the 10-bit H.265 codec so that your memorable Minecraft gameplay moments can be recorded vividly.
While recording, this Minecraft screen recorder empowers you to capture the gameplay window, full screen, or a specific area without any delay. Not only that, but your webcam can also be captured. So, it will also perform excellently in making game tutorial videos.
After recording, you can use the built-in Advanced Trimmer to polish your Minecraft recordings and then share them on YouTube.
Pros:
- Game recording mode, adjustable frame rate and resolution.
- No watermark in default, and also supports custom watermarks.
- Capture any area of your computer screen, with webcam & mic.
- Draw, annotate, and highlight the screen in real-time.
- Marvelous editing features to make your recordings better.
- Output your Minecraft recordings in popular video formats.
- Easy to use, and comes with a clear & multilingual interface.
Cons:
- Available to record 3 minutes only while experiencing the free trial.
2. Bandicam
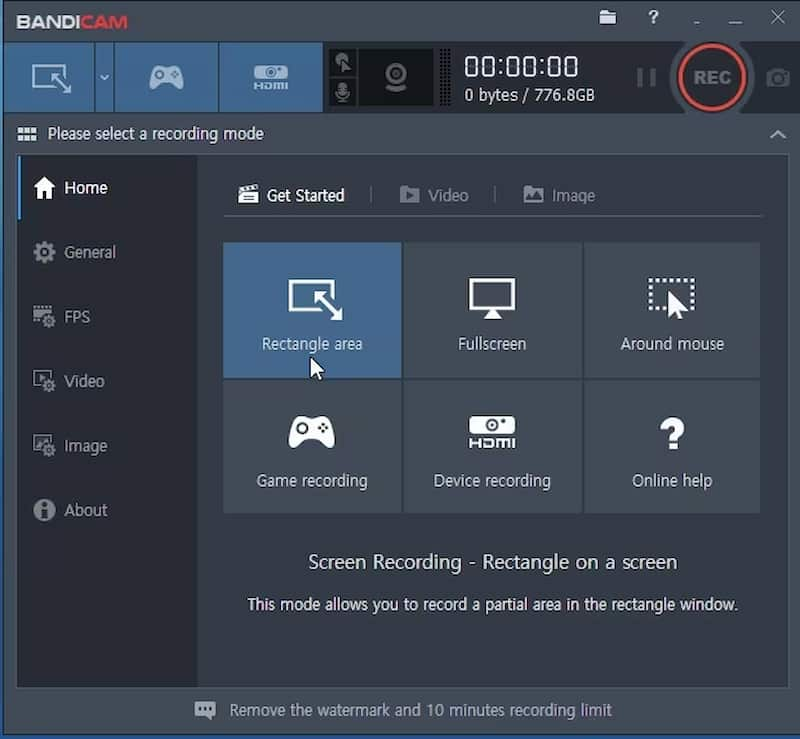
The second recommended game recording software for recording Minecraft videos is Bandicam. This Minecraft screen recorder allows you to record your gaming sessions for up to 24 hours at a time while maintaining complete control over the frame rate. It can record games at a resolution of 3,840×2,160 and can handle frame speeds of up to 144fps without issue. You can select to record particular areas of the screen as well as record the whole screen without losing the content quality.
Pros:
- Customized recording screen adjustments.
- Capture Minecraft gameplay in up to 144 fps 4K Ultra HD definition.
- Simultaneous webcam overlay while recording.
- Directly upload Minecraft recordings to YouTube.
Cons:
- Only available for Windows.
- 10-minute recording limit in the free trial.
- Recordings with watermarks in the free trial.
3. Fraps
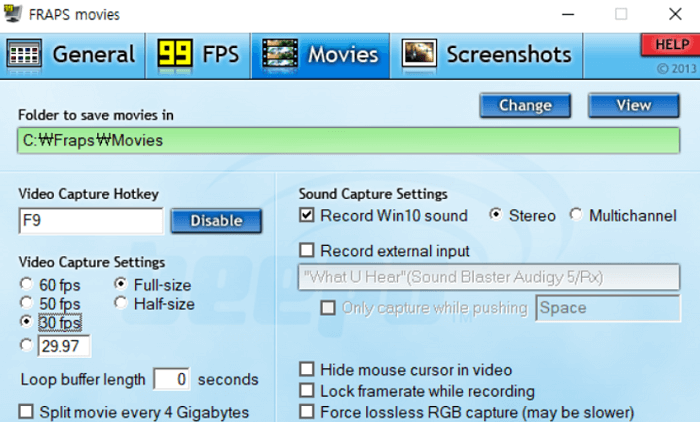
Fraps is another recommended Minecraft screen recorder. This program can run in the background of your computer, leaving you to play games as it records Minecraft without interrupting your experience. It is a decent choice when it comes to recording game footage. It's easy to use and can track your frame rate as well and you can also take a screenshot by binding the action to a hotkey.
Pros:
- Record Minecraft World with computer sound and your voice at the same time.
- It shows how many Frames Per Second (FPS) you are getting.
- Record Minecraft video at up to 7680×4800 with custom frame rates up to 120 fps.
- Good configuration settings.
Cons:
- Only allow taking 30-second-long recordings in the unregistered version.
- Recorded footage tends to be a large file size.
4. Icecream Screen Recorder
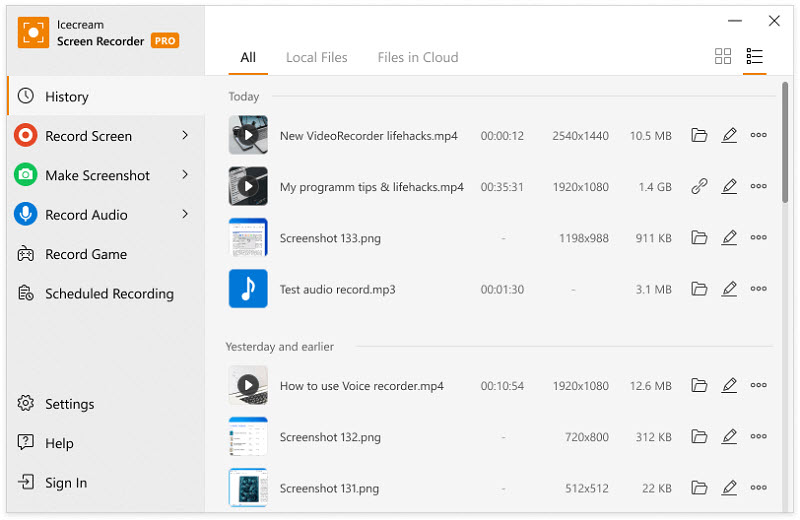
Icecream Screen Recorder has a standalone Game Capture mode to record Minecraft gameplay on full screen effortlessly. What's more, if you have your own channel, you can add your logo to Minecraft recordings to ensure your credit is retained wherever your video travels. In addition, you are able to turn on the webcam as well as the system audio so that you can record the video with your face and voice.
Pros:
- Clean and intuitive user interface as well as functionality.
- Automatically find the screen area to record.
- Add your webcam overlay to your recordings.
- Customize the recording area.
Cons:
- Some of the features are limited to the Windows version.
- The free version has a five-minute recording limit.
5. EaseUS RecExperts
EaseUS RecExperts is a powerful Minecraft screen recorder. It has numerous configurable options that you can tweak and ensure your Minecraft recording is exactly the way you want. It supports turning on hardware acceleration so that you can get better recording quality and the lowest system resource usage.
Beyond that, this lightweight Minecraft recorder enables you to adjust the output files' quality, format, and bitrate in the settings panel. And it prepares some editing tools for you to use, including cutting, trimming, and adding opening or closing credits.

Pros:
- Schedule recording to start automatically.
- Auto-split recordings according to the file size or time.
- Record video, audio, and webcam simultaneously.
- Offer some basic video and audio editing tools.
Cons:
- Only the paid premium version comes without a watermark.
- 10 minutes recording time limit.
6. Wondershare DemoCreator
Wondershare DemoCreator is one of the best Minecraft screen recorders, not just because it can record a section of the screen or the whole screen, but also because it incorporates webcam and audio into the recording. DemoCreator gives both options of recording the screen and editing your Minecraft recordings. And for both of its options, it has introduced hundreds of features that can be used.

Pros:
- Record screen and webcam simultaneously.
- Offer professional editing tools to prioritize the recorded files.
- Effects and annotation tools for your recording.
- Free to record and target the recorded file.
- The video and audio tracks will be separated after recording.
Cons:
- The exported video has a watermark for the free version.
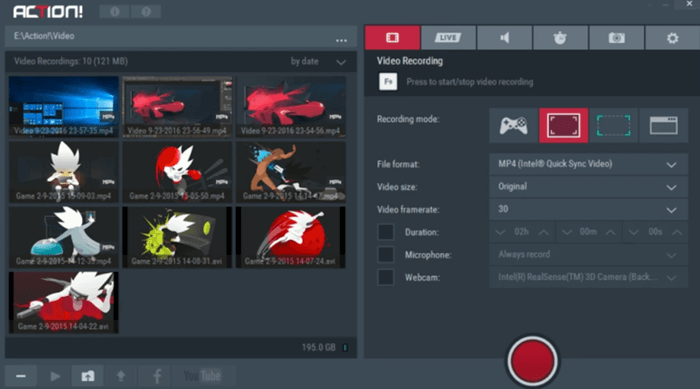
7. Action!
With an intuitive and stylish user interface, Aciton! is easy to handle for all users. Using this Minecraft screen recorder, you can grab smooth HD Minecraft recordings up to 120fps and stream your gameplay to YouTube or Facebook. Plus, it supports recording both microphone audio and webcam, which helps make training and gaming videos.
Pros:
- 60 frames per second allow for high-definition playback.
- Files can be shared across multiple platforms if required.
- Basic functions such as deleting, sharing, browsing, and uploading.
- Guarantee the best performance with low GPU resources.
Cons:
- Users do not have the ability to customize the frame rates.
- Higher frame rates will inevitably take up more memory.
8. OBS
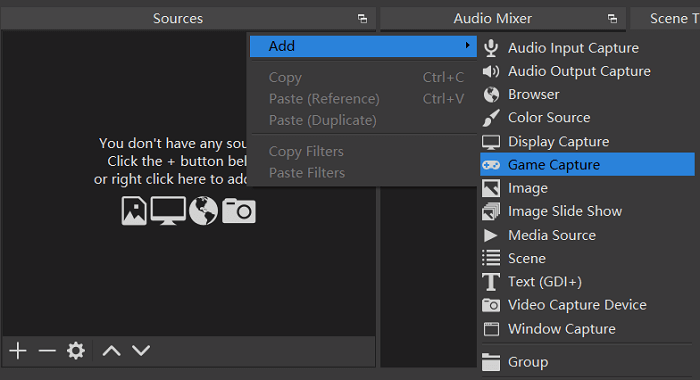
OBS Studio is a professional open-source Minecraft screen recorder that works on a variety of devices like Windows, Linux, and Mac, and supports a variety of video formats. If you're looking for a one-stop Minecraft screen recorder to meet your recording and live-streaming requirements, this application is sure to provide. OBS Studio allows you to broadcast your gameplay to Twitter and YouTube. It also helps with real-time video and audio capturing through sources like webcams, browser windows, etc.
Pros:
- No limitations on recording length.
- The tool is completely free and open-source.
- Add multiple custom sources for audio and video.
- Find all your recordings with a single click.
Cons:
- Difficult to use for beginners.
9. QuickTime Player
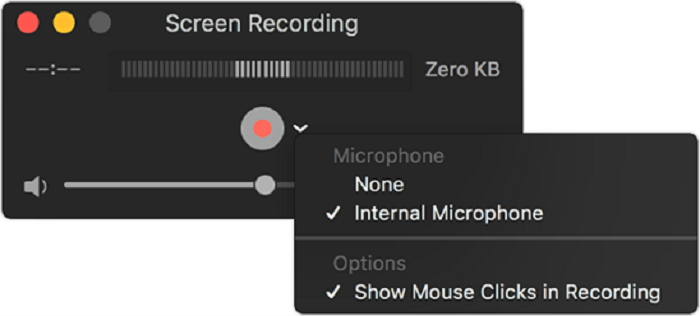
QuickTime Player is an application developed by Apple that allows users to watch movies and record screencasts on their Mac. You may also record Minecraft World gameplay videos and audio recordings, as well as do rapid changes. Basic activities such as video flipping and clip splitting are included in edits. Essentially, QuickTime Player comes with all basic tools such as rotation, trimming, and splitting to improve your Minecraft recordings.
Pros:
- Free to use without downloading.
- Compatible with almost all versions of Mac devices.
- Videos can be directly uploaded to social media websites.
- Basic video editing and live streaming are available.
Cons:
- It is only available for macOS.
10. Xbox Game Bar
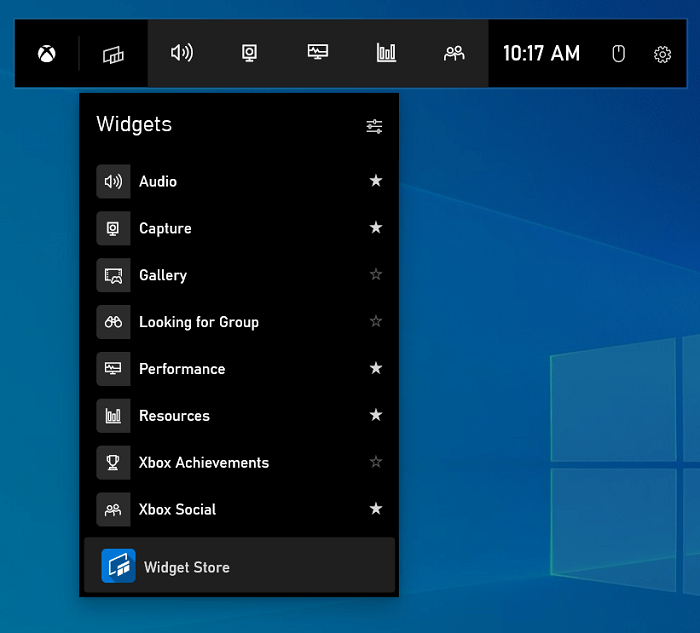
Xbox Game Bar is a screen recorder that comes with Windows 10/11, which works with most PC games, and gives you instant access to widgets for screen capture and sharing. You can use the Game bar to record your Minecraft screen. You only need to press the “Windows Key + G” on your keyboard to launch it. To use it conveniently, it offers you options to set the hotkeys.
Pros:
- No need to be installed.
- Loads of customizable setting options.
- Integrates with Windows very well.
Cons:
- Four-hour recording time limit.
- No customized options.
- Cannot capture a webcam.
How to Screen Record Minecraft with No lagr
Now that you have grasped an overall picture of Minecraft screen recorders. VideoSolo Screen Recorder works perfectly on both Windows and Mac. Head to the following part for more detailed instructions.
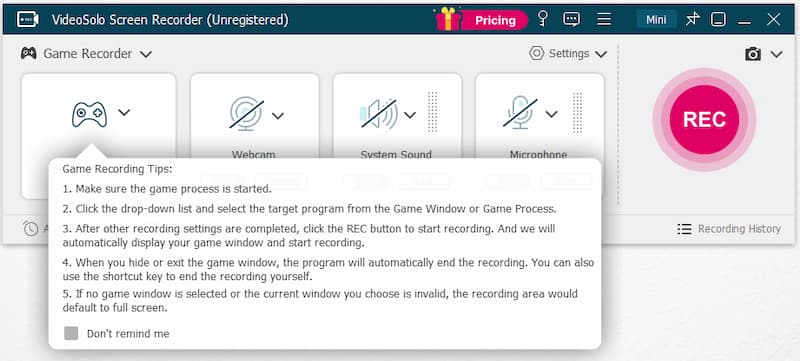
Step 1. Launch the Minecraft Screen Recorder and Choose the "Game Recorder" Feature
To record Minecraft videos with sound or make a Minecraft tutorial with voice-over, you need to choose “Game Recorder”.

Tips: If you just want to record Minecraft music discs to enjoy offline, you can use “Audio Recorder” and read the article here: [[High Quality] Simple Way to Record Computer Audio.
Step 2. Choose and Lock Minecraft Game Window
Make sure your game is on and click to select the Minecraft window from the pull-down menu.
The software can automatically detect your game process and will end recording as you minimize or exit the gameplay window. This function also locks the recording window and extracts other windows that disturb during the recording.
Step 3. Enable/Disable Webcam and Sound, and Customize More Settings
Next, you can enable or disable the webcam, computer system sound, and microphone to decide whether to record them or not. If you turn them on, remember to customize the settings, for example, volume up or down for the input audio.

To make sure the sounds will be recorded properly, you can have a convenient sound check before recording.
Notice: If you've set up full-screen recording, you'd better go to Preferences > Hotkeys to get familiar with the hotkeys.
Step 4. Start to Record Minecraft Video
After all the settings, just hit the “REC” button on the right side of the recorder in advance and begin showing off your prowess in the Minecraft world.
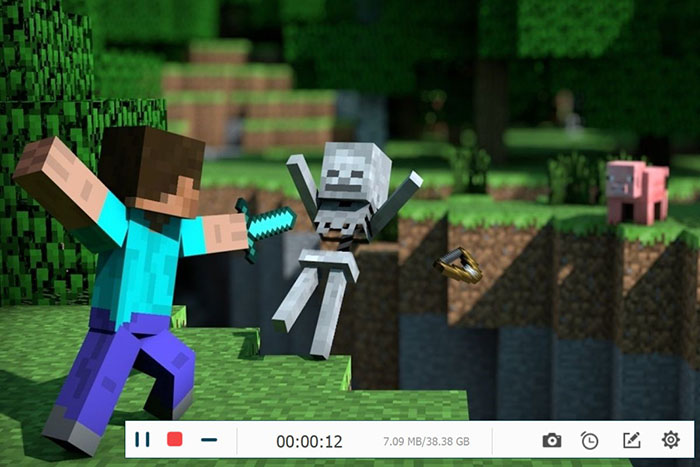
Tips: The control bar can be hidden while recording. After the recording, you can preview and clip the video in VideoSolo Screen Recorder before saving.
FAQs about Minecraft Screen Recorders
1. How to record Minecraft on Windows 10?
To record Minecraft World on Windows 10, you can either choose the Xbox game bar by pressing the “Windows Key + G”.
If you want to record Minecraft and games at up to 60fps and export them to the resolution of full HD, while editing, adding webcam overlay, and annotation on your videos. VideoSolo Screen Recorder will be the best option. Using this program, you can record gameplays like League of Legends and CSGO with no lag effortlessly.
2. How to set up the fps and output format of my Minecraft video?
If you are using VideoSolo Screen Recorder, go to “Preferences > Output”, and you can customize all the output formats. Remember to click “OK” to save the changes after the setting.
By the way, although the software supports HD recording and high fps, the performance may differ according to your PC. We recommend you always take a test before the official recording.
3. How to record Minecraft for free?
There are 3 options for you to record Minecraft for free:
VideoSolo Screen Recorder: Windows & Mac;
Xbox GameBar: Windows 10/11;
QuickTime Player: Mac.
We consider VideoSolo the best Minecraft screen recorder. It not only helps you record Minecraft for free, but also offers some advanced editing tools for you to polish your Minecraft recordings.
4. How to record Minecraft for YouTube?
If you have a YouTube channel and want to make attractive Minecraft gameplay videos, VideoSolo Screen Recorder is a perfect tool. You can use VideoSolo to record Minecraft gameplay in up to 4K 60fps, and edit your recordings with built-in editing tools. VideoSolo is a one-stop solution for YouTubers.
If you want to live stream your Minecraft gameplay to YouTube, OBS may be a good choice. It is open-source and totally free. You can use it to broadcast your screen activity to a YouTube Live stream.
Conclusion
Overall, with the 10 best Minecraft screen recorders, you can handily record Minecraft gameplay in high quality. Among the 10 tools, we recommend VideoSolo Screen Recorder as the best choice for its advanced technology, customizable recording settings, and user-friendly operation. Explore Minecraft World with it!

